Inserting devices in MOVISUITE®
INFORMATION

For detailed information on how to use the MOVISUITE® engineering software, refer to the corresponding documentation.
INFORMATION
The process of adding a device to MOVISUITE® is shown here using the example of a control cabinet controller.
Proceed as follows:
- The engineering PC and the MOVI-C® FIELD CONTROLLER are connected via the engineering interface (X4224).
- Both devices are connected in the same local network and the IP address parameters of the engineering PC are set to the local network.
- Start the MOVISUITE® engineering software.
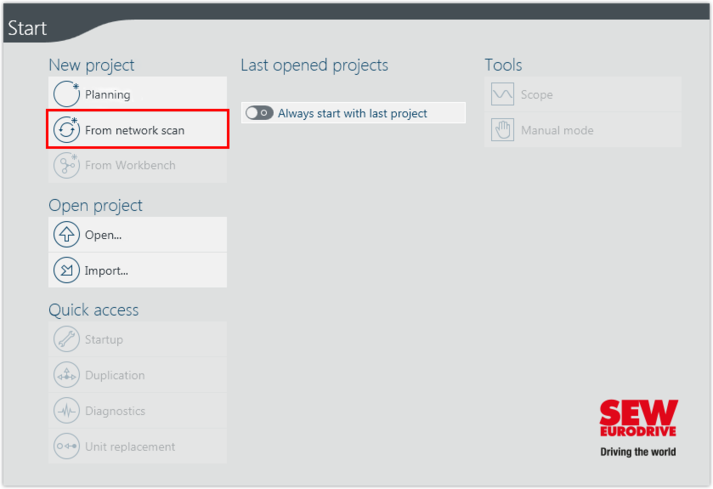
- Create a new MOVISUITE® project from a network scan.
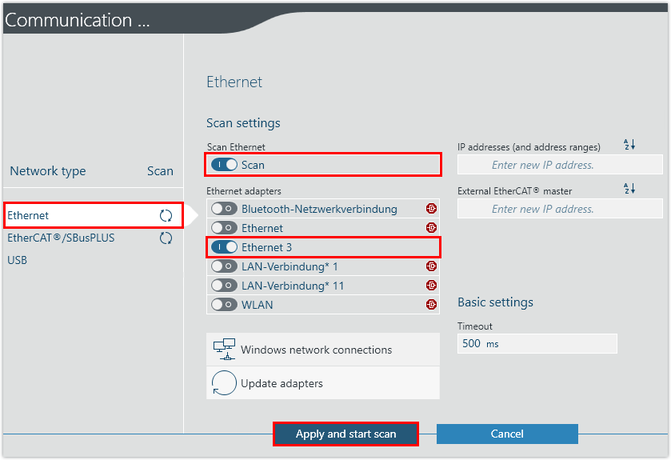
- Select the network type (Ethernet) and activate the configured adapter (LAN connection). Apply the settings and perform the network scan.
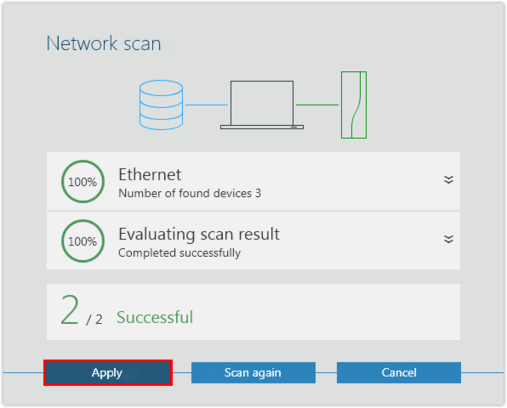
- Add the scanned devices to MOVISUITE®.
- If necessary, load the device data into the MOVISUITE® project. Confirm the message stating that the device data has been successfully transferred.
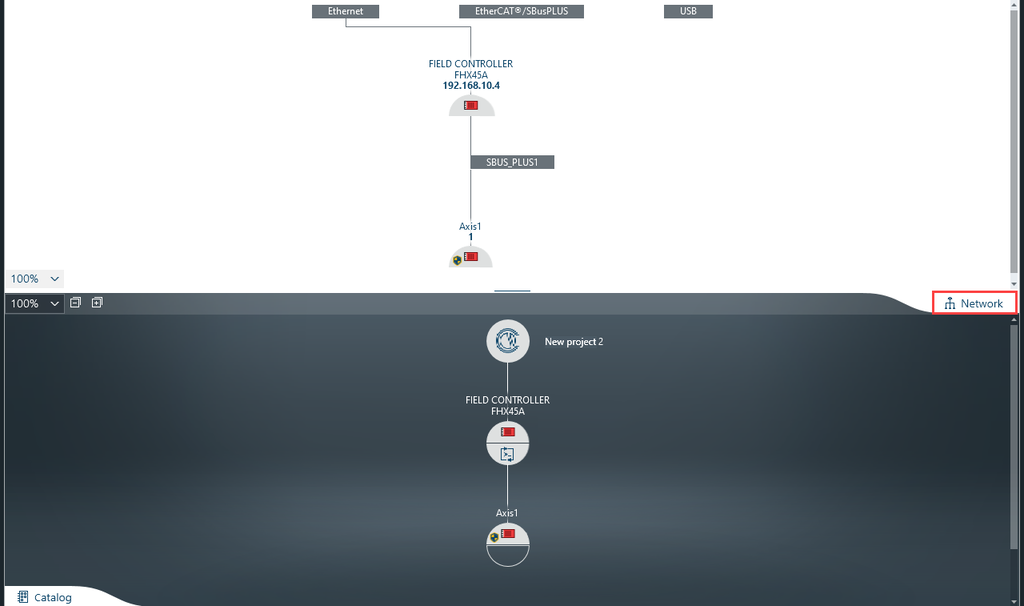
- The devices are displayed in one of the MOVISUITE® views. INFORMATION: The display depends on the view used when MOVISUITE® was last closed.
- The combined network and function view shows all connected devices detected during the network scan.
- The tree view provides an overview of the entire project.
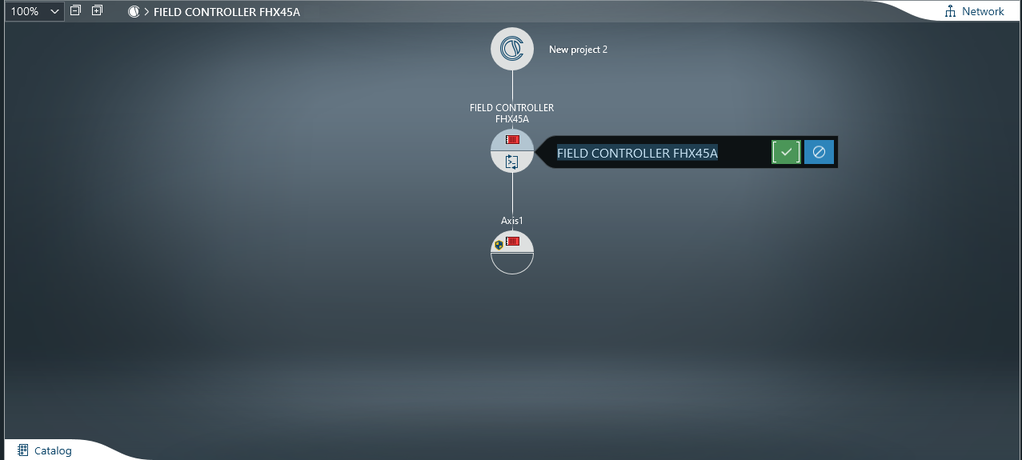
- To toggle between the MOVISUITE® views, click the "Network" tab.
- Enter a name for the device. The device will then be shown in the MOVISUITE® project under this name.
- The device has the following device name in this example: CONTROLLER UHX45A
- Save the MOVISUITE® project.