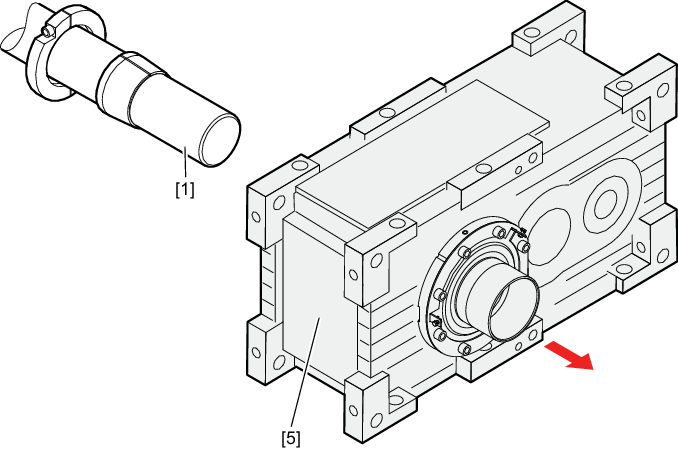
Disassembling the customer shaft
NOTICE
Removing the gear unit incorrectly from the machine shaft may damage bearings and other components.
Possible damage to property.
- You may only use the hollow shaft as a support for disassembly. Note that supporting on any other parts of the gear unit may damage the material.
- Remove the shrink disk properly. Never completely unscrew the retaining screws because the shrink disk might jump off and cause an injury.
- Shrink disks and corresponding parts of different gear units must not be swapped.
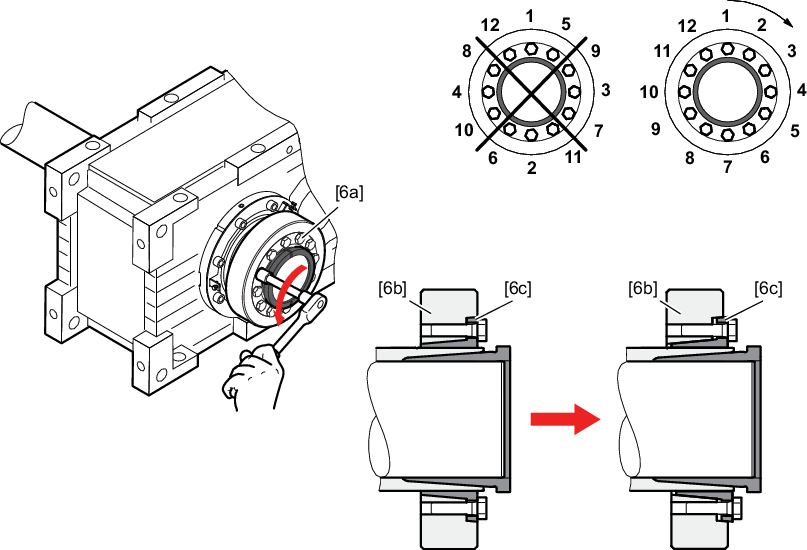
Proceed as follows:
- Loosen the locking screws [6a] by a quarter turn one after the other to avoid straining the connecting surface.
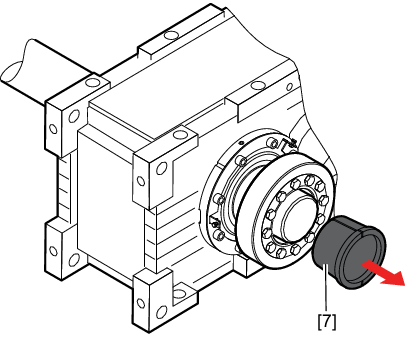
- Remove the conical steel bushing [7]. If the steel bushing is locked, use a puller for the disassembly.
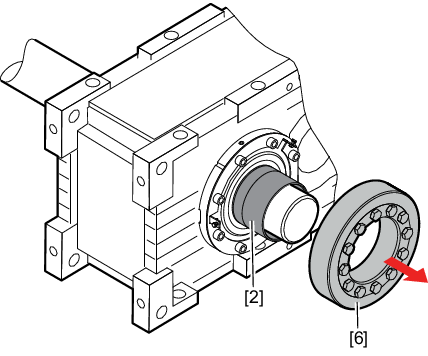
- Remove the shrink disk [6] from the hollow shaft [2].
- Loosen the retaining screw of the stop ring [3] and remove the stop ring [3] from the gear unit.
- Remove the retaining screws of the gear unit.
- Remove the gear unit [5] from the customer shaft [1].
INFORMATION

If the taper (outer ring) [6b] and the taper bushing (inner ring) [6c] do not loosen by themselves:
Take the necessary number of screws and screw them evenly into the disassembly bores. Tighten the clamping screws in several steps until the tapered bushing separates from the tapered ring.

INFORMATION
The removal of the stop ring is not necessary for customer shafts with shaft shoulder.