CAD data in Online Support

- Call up the SEW-EURODRIVE homepage.
- Follow these steps:

You will then see the following screen:

[1] | "CAD data" tab | [2] | Search field |
- Enter a type designation, a serial number, or the number of a quotation or an order confirmation (AB) in the search field [2].
- Click [Find].
- A different window opens depending on what you have entered in the search field:
- Entering a serial number: The window for adjusting and downloading the CAD data opens.
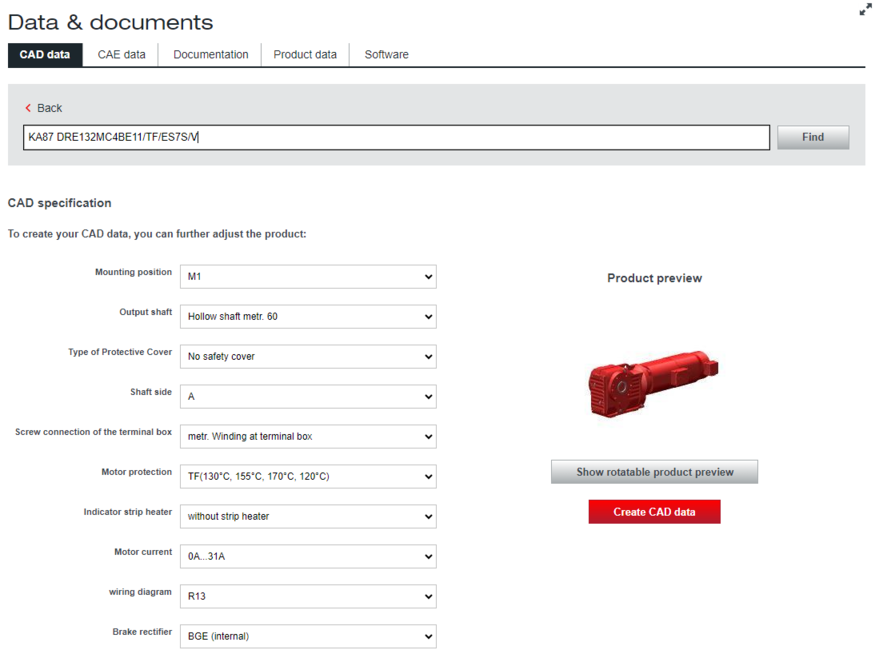
- Entering an SEW type designation: The window for the product specification opens (see the following screenshot). As soon as you have completed the specification by clicking [Create CAD data], the window for adjusting and downloading the CAD data opens.
- Entering a quotation or order confirmation number: If you are authorized, all the items of the transaction are listed. You must be logged in to use this operation. Select the required item. Click [Next]. A window opens for selecting and downloading the required data and documents.

The following figure shows the window for adjusting and downloading the CAD data.

[3] | Navigation bar | [6] | Action bar |
[4] | Selection of formats and views | [7] | Download of individual files |
[5] | Link to other export formats |
|
- Select the required CAD formats and views [4] for data export.
You can find additional export formats via the gear symbol [5]. If you are logged in, you can save your export settings permanently here. - If you want to download the data collectively as a single ZIP file or forward it, click [Download as zip file] or [Forward] in the action bar [6]. Use [Forward] to send the file via your own e-mail program or to copy a link to the result to the clipboard. Alternatively, you can also download the CAD data individually in various formats [7].
INFORMATION

