Creating a drive train
- A MOVISUITE® project has been created via network scan and is open.
- You know the information on the motor nameplate.
- In the function view of MOVISUITE®, click the node of an inverter.
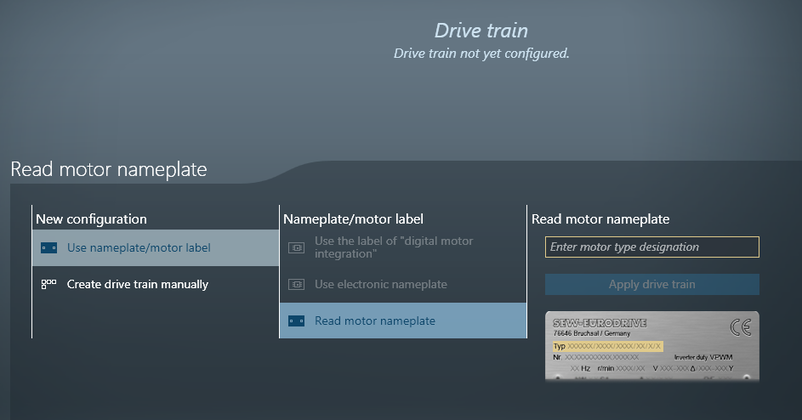
- In the "Drive train" or "Drive trains" submenu open the "Drive train DT1" menu.
- Enter the motor type designation in the respective edit box in the "Read motor nameplate" section.
- Click ENTER or click the [Apply drive train] button.
- To take the drive train into operation, click [Next].
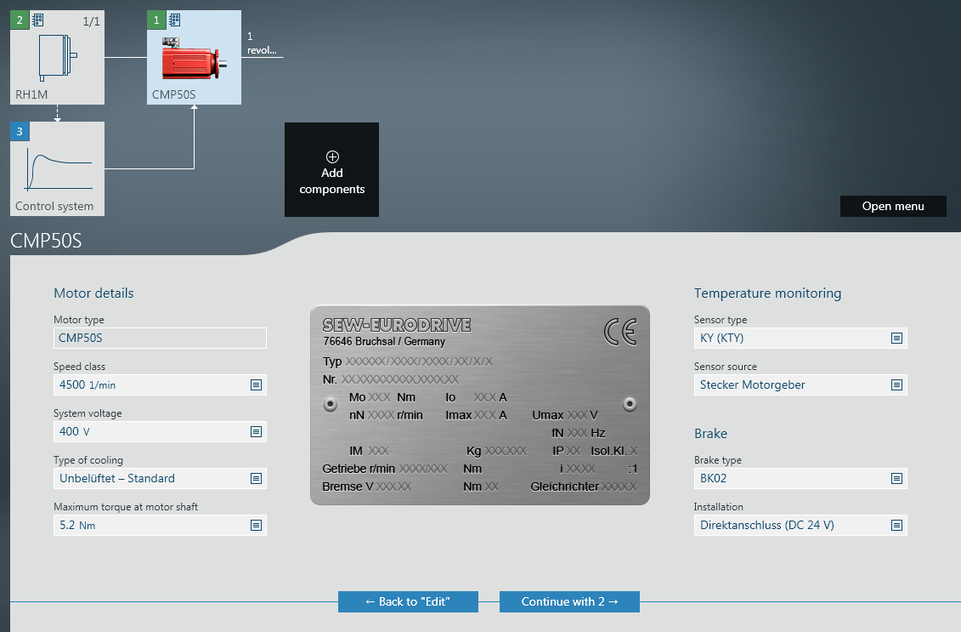
- If necessary, adjust the default values and click [Next]. Selecting a field that is present on the nameplate causes it to be highlighted in the displayed nameplate.
- Next click the [Apply drive train to project] button.
- You have now created the drive train in your MOVISUITE® project and have taken it into operation with the values you have entered.